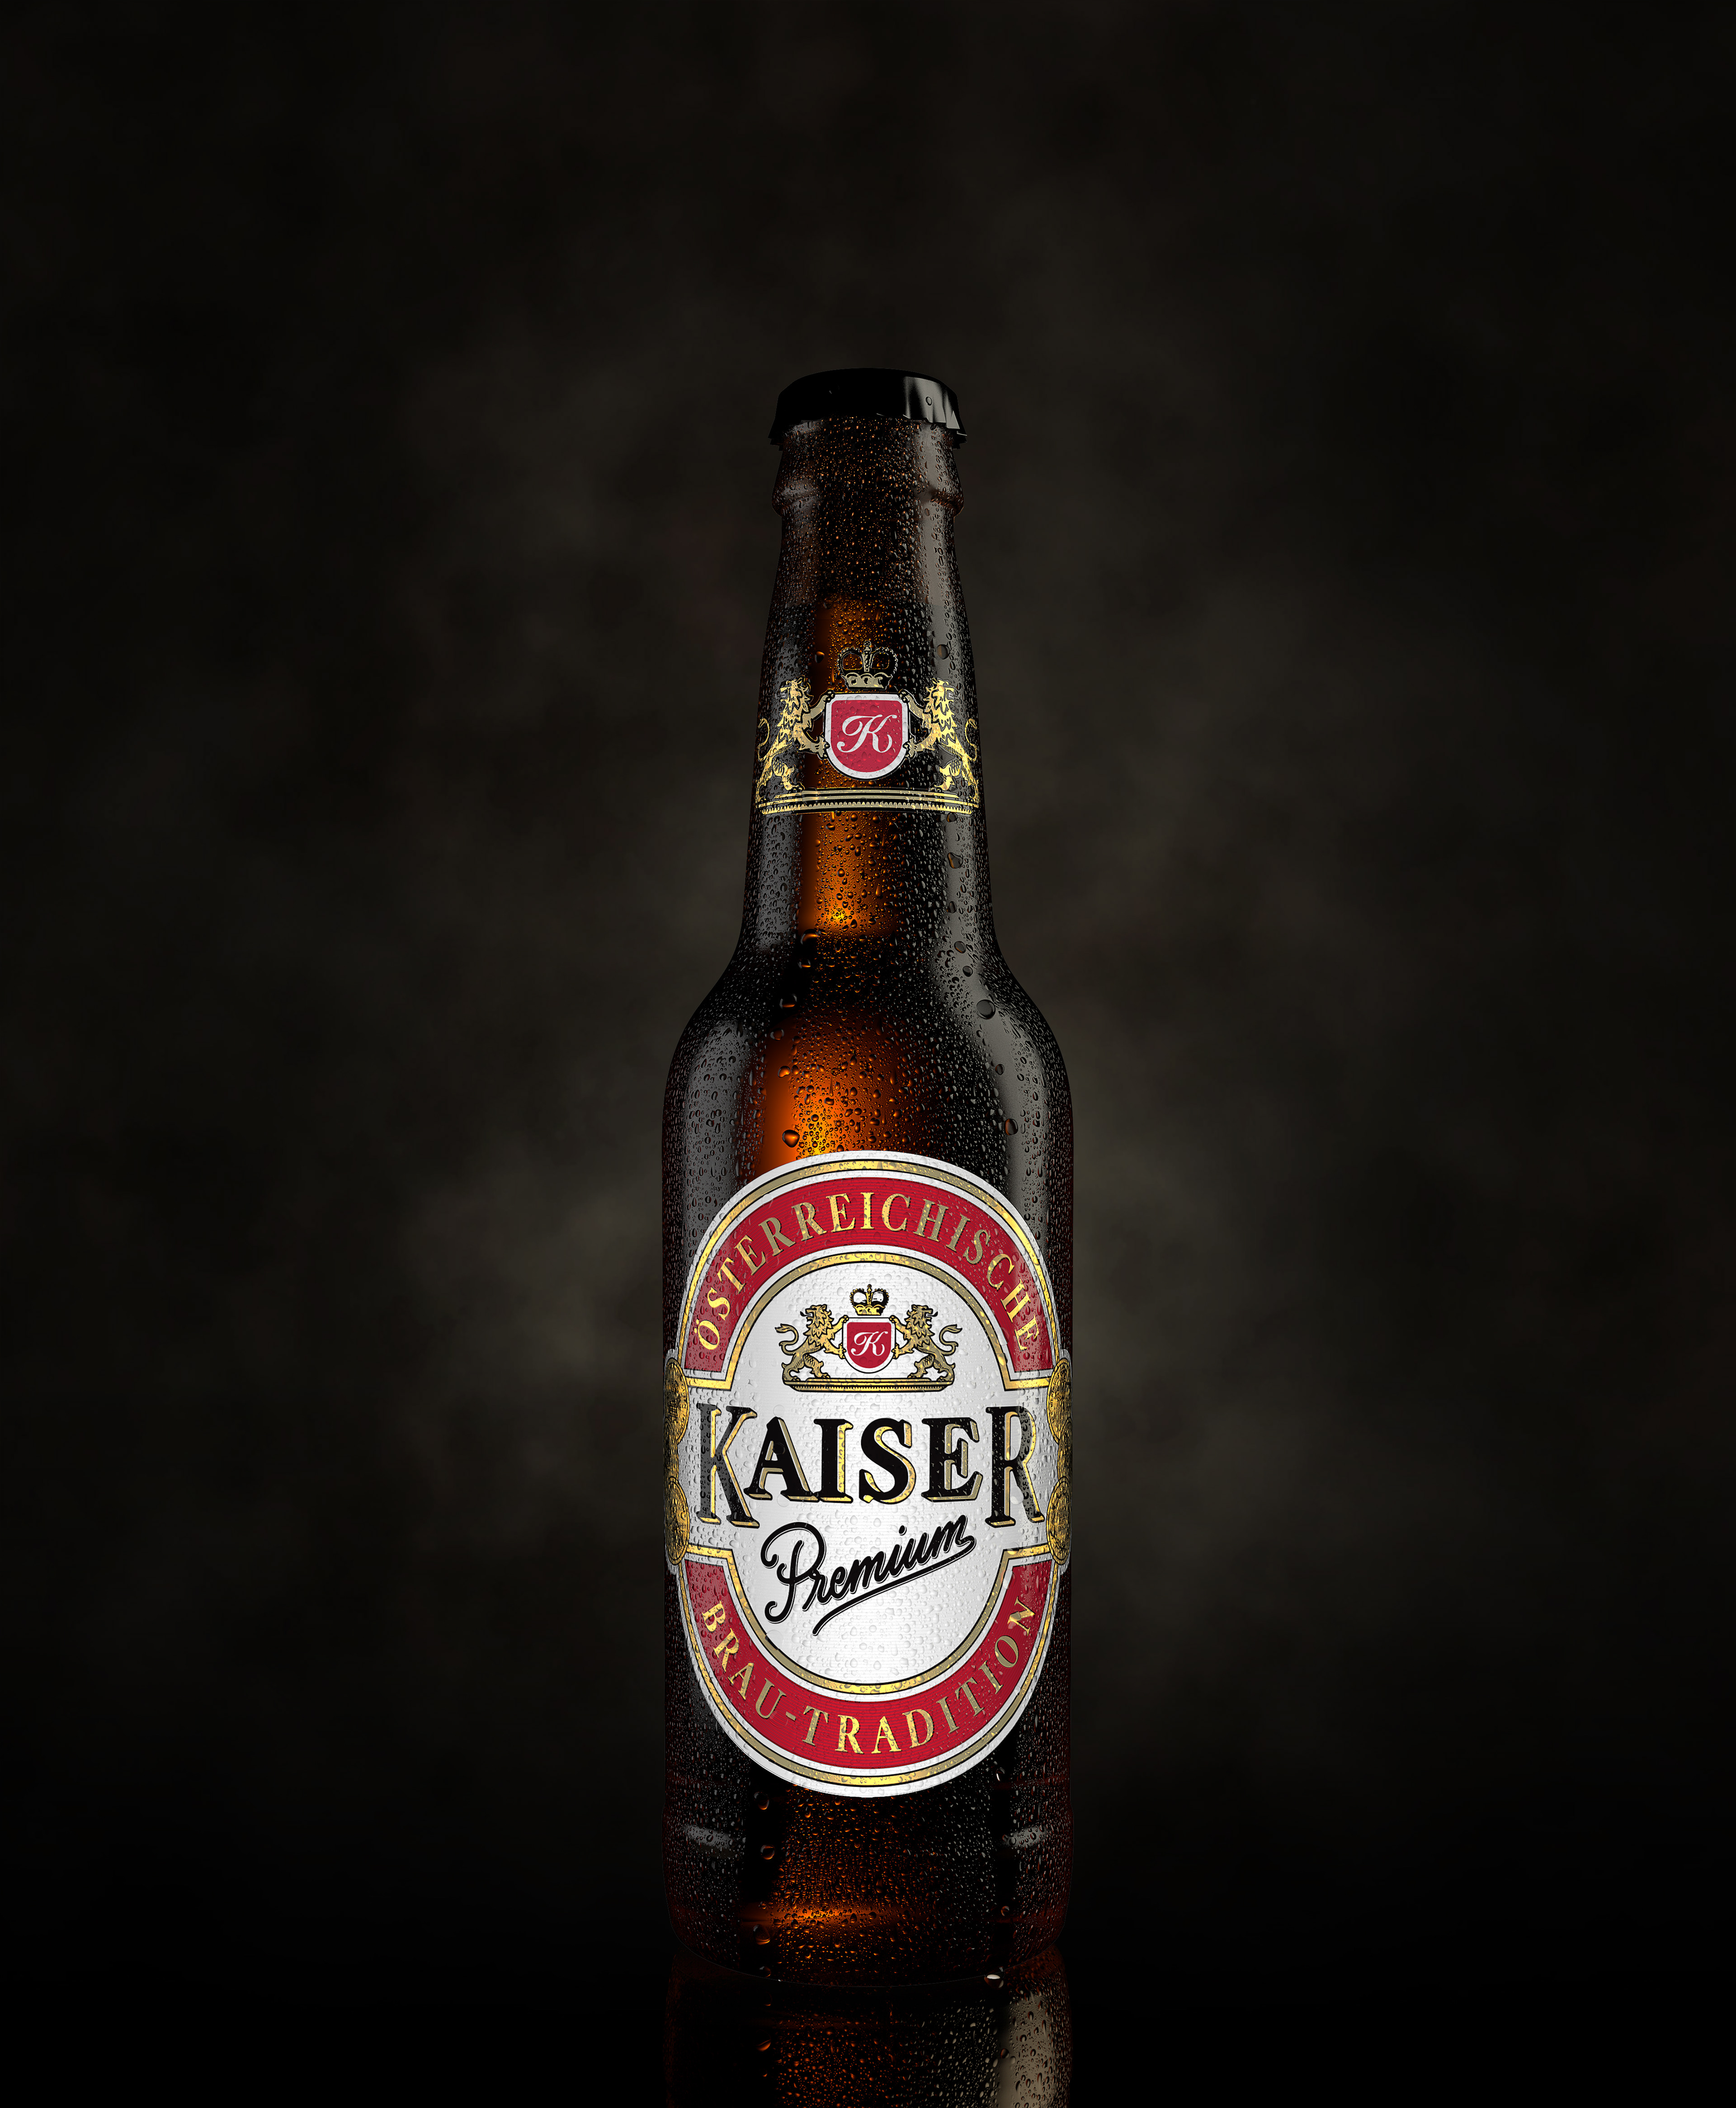
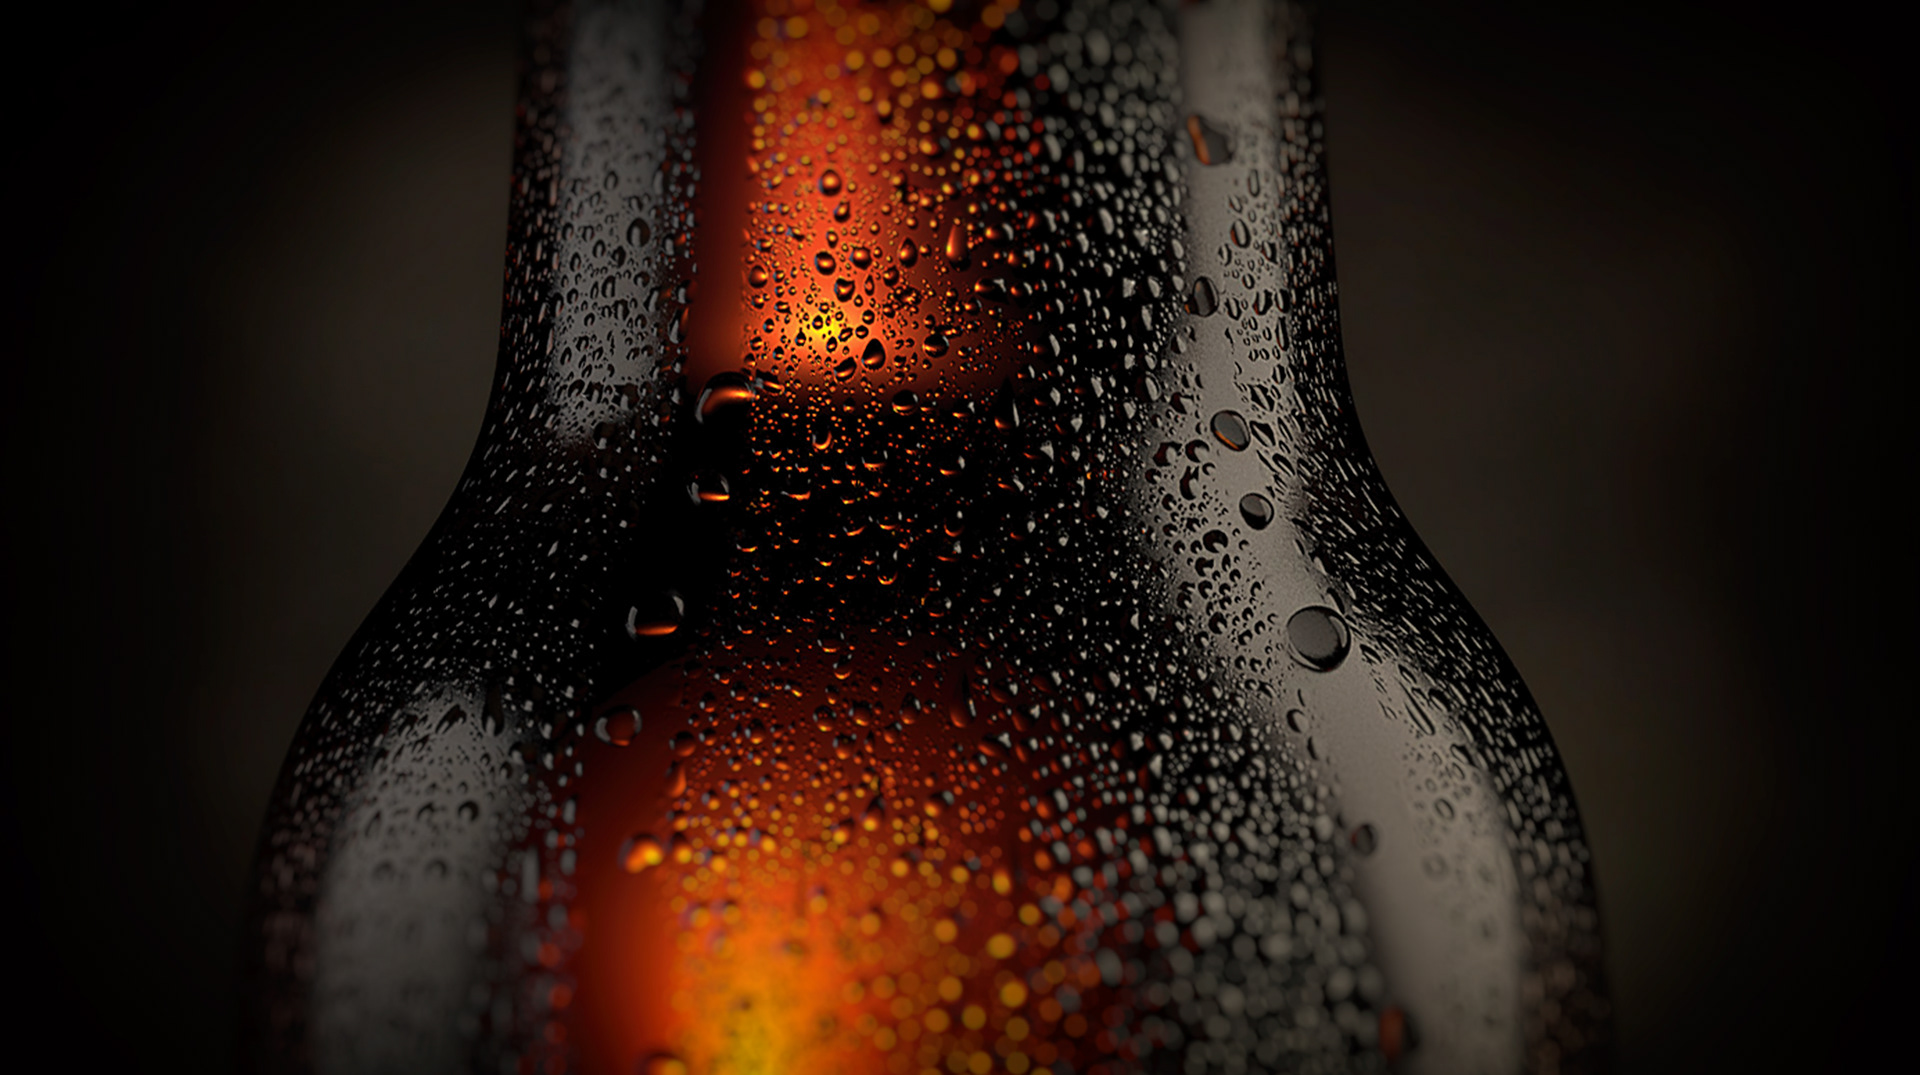
This project has driven me crazy for the last few weeks. The main challenge was the condensation. I wanted a solution that would allow for short render times and yet still look convincing. I tried everything (MoGraph clones, Thinking Particles, displacement mapping) and nothing to seemed to accomplish the natural look I was going for. I owe a big THANK YOU to Marinus at Urge Studio for sharing some tips with me on his awesome work and convincing me to try using Normal maps - which, with a lot of tweaking, got me closer to the look and render times I wanted. I've included a rough over of the process below. Feel free to post any questions in the comments. Please appreciate if you like.
Condensation Workflow
Here is a really rough run-through of how I created the condensation. Feel free to post any questions in comments or PM me.
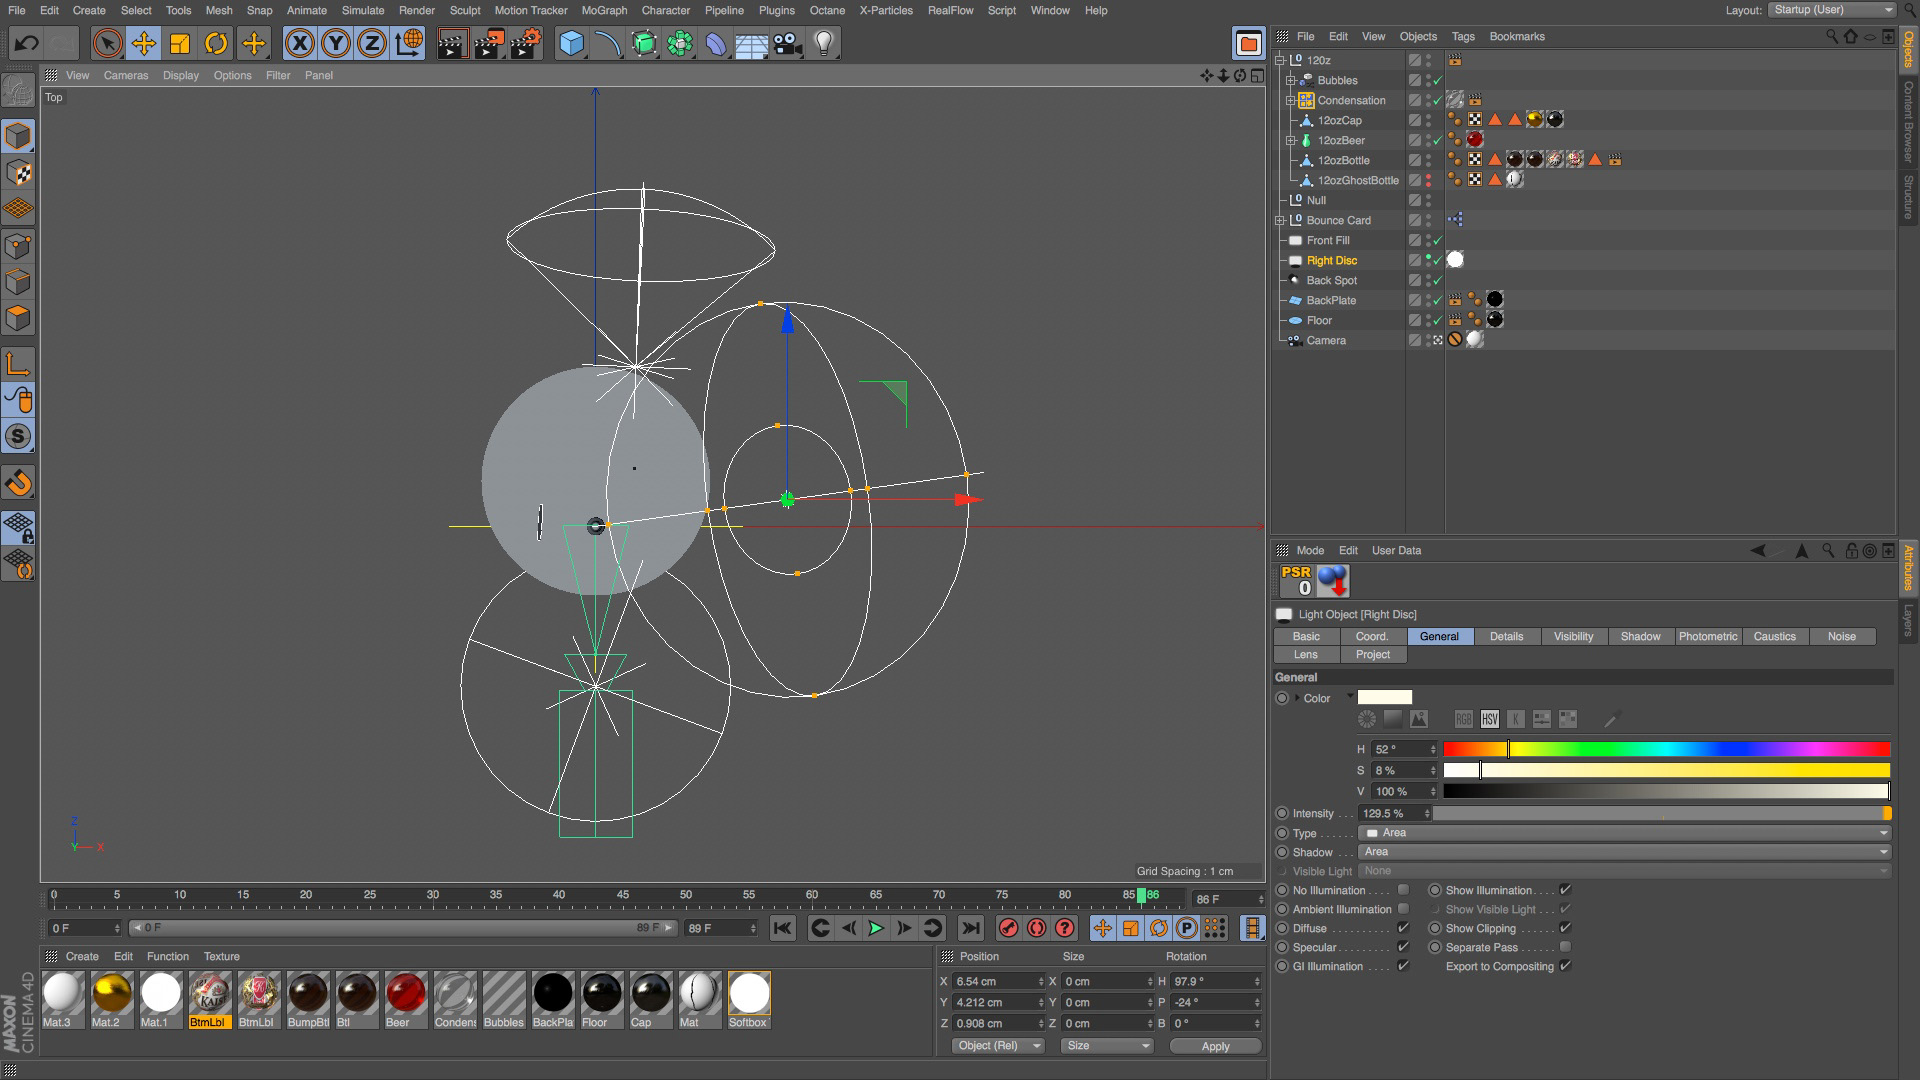
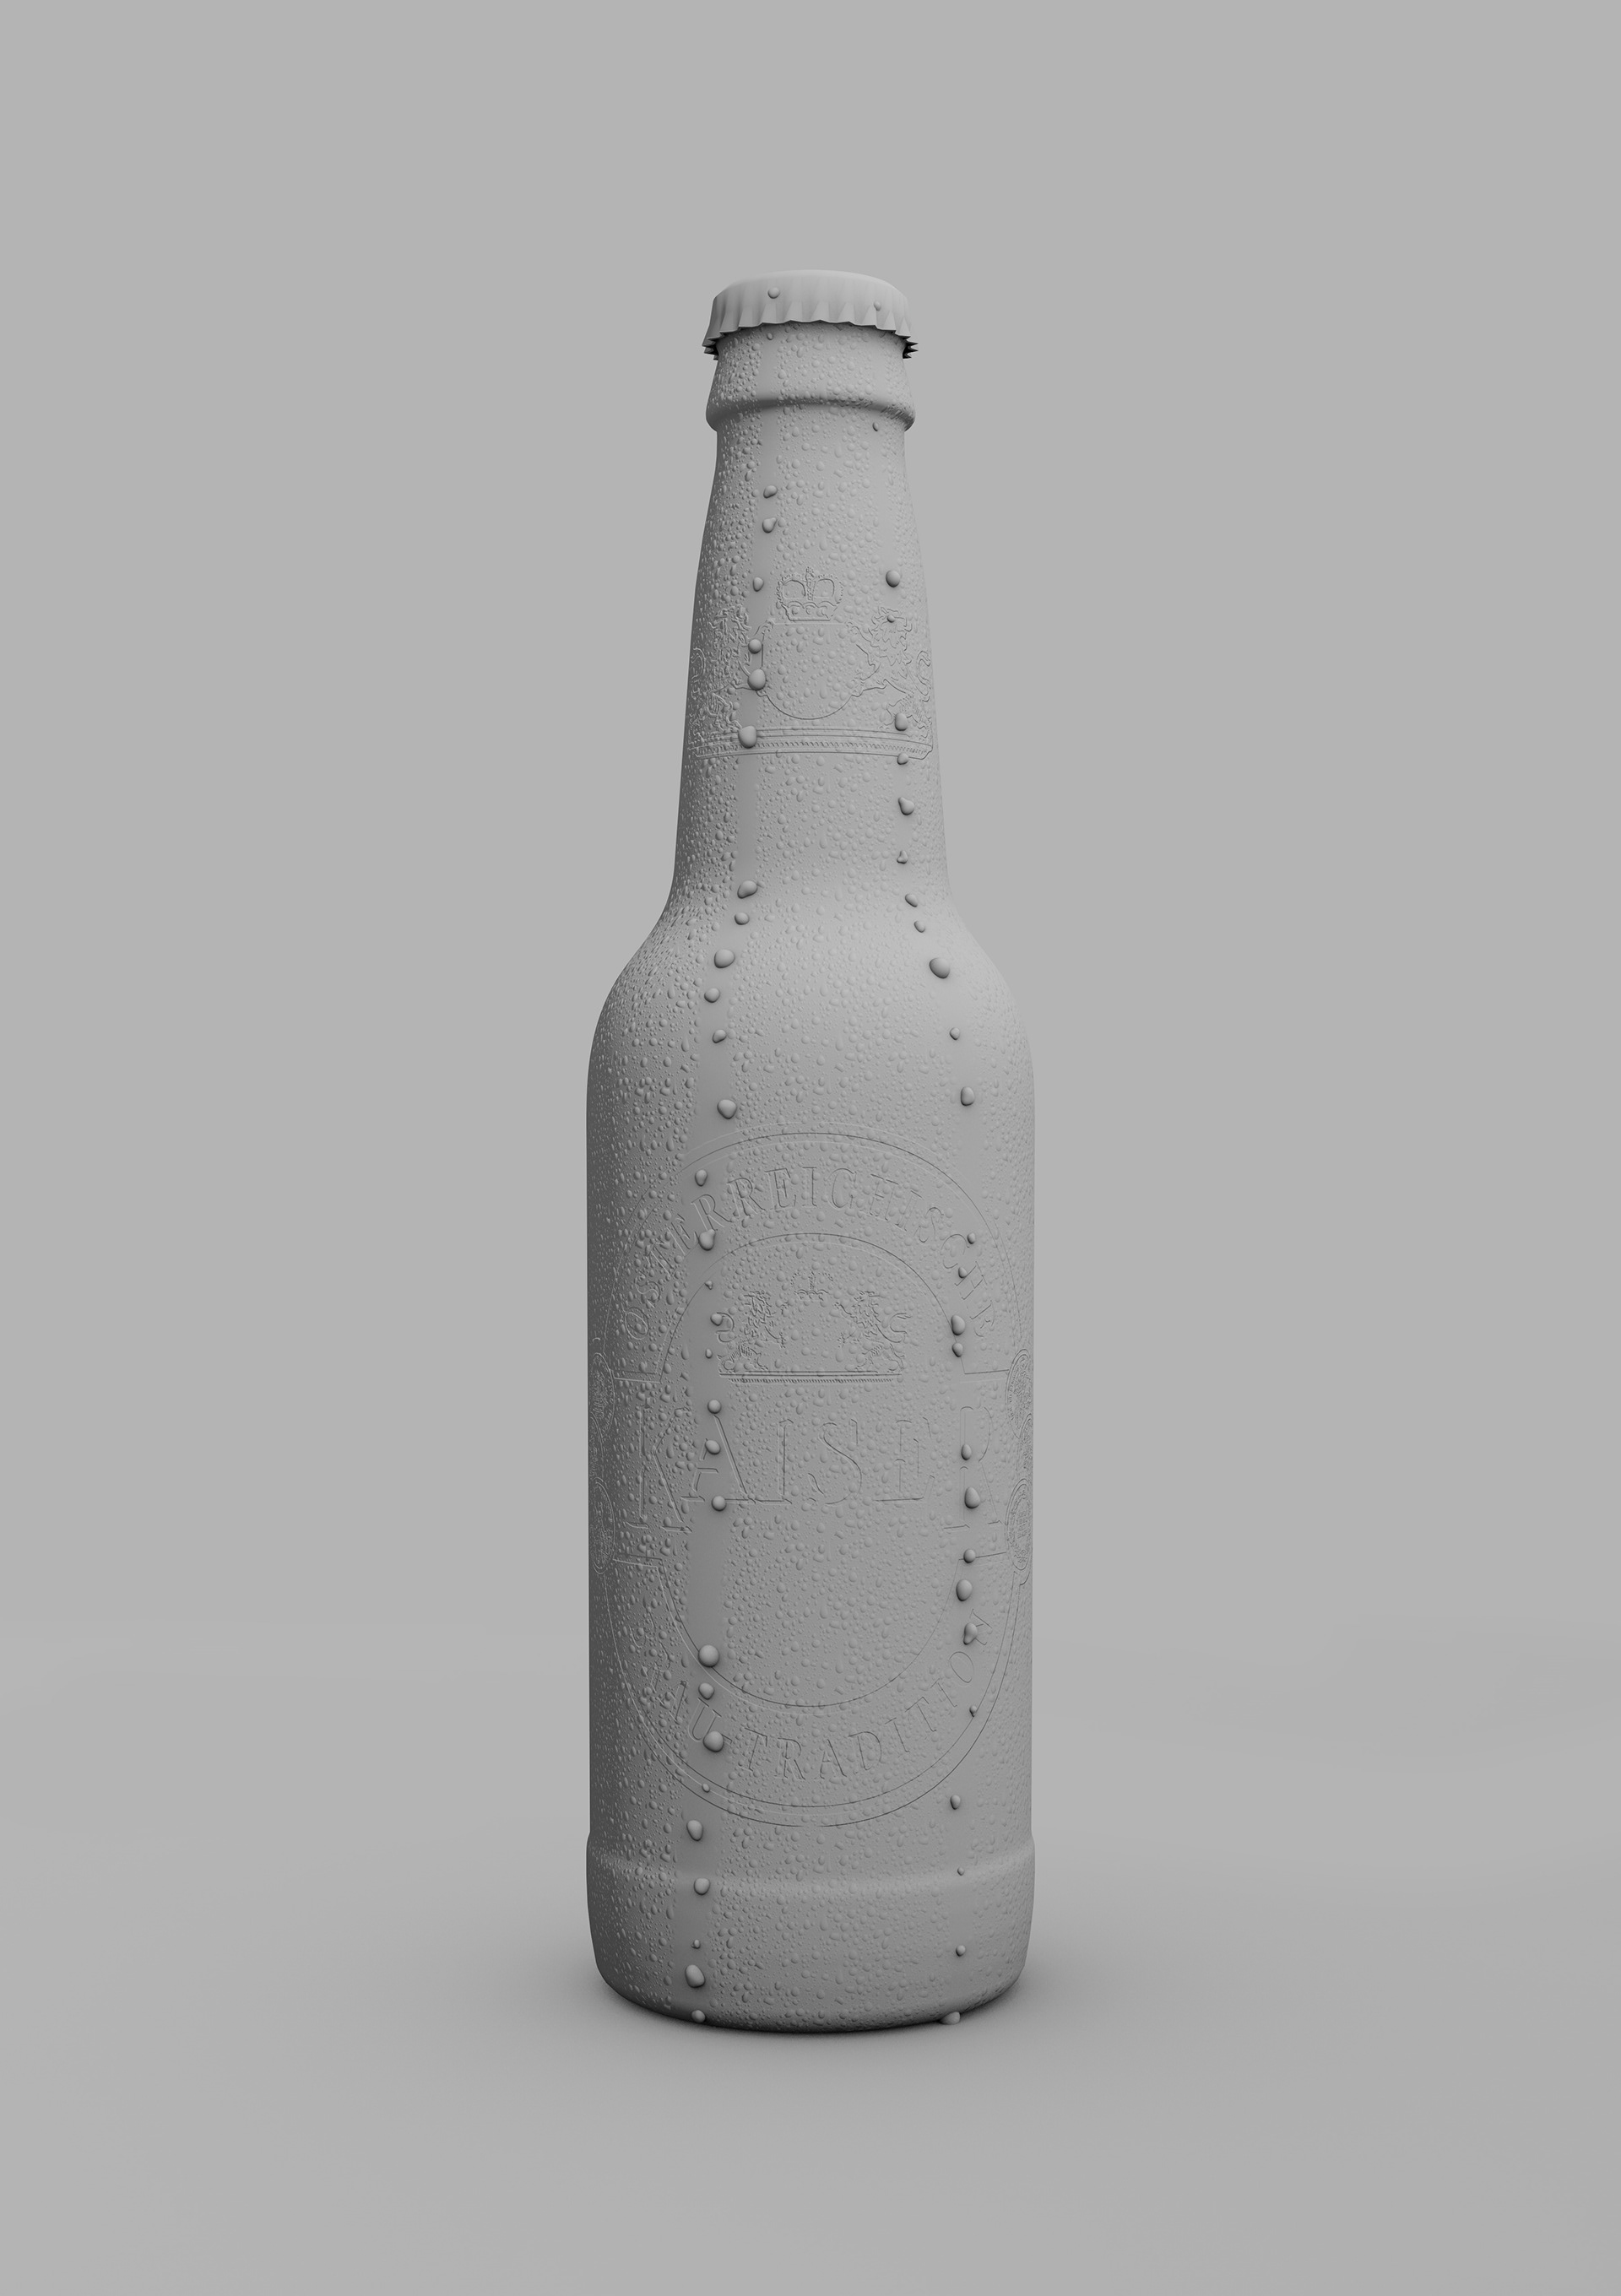
The Normal Map I used is available on-line (https://forums.unrealengine.com/attachment.php?attachmentid=6376&d=1404714981). Not sure who created it, but they deserve a lot of credit. However to get it looking right I ended up creating 2 identical glass materials for the bottle, the only difference being that one has the normal map loaded. I applied the one with the Normal Map to the outside of the bottle with the “side” set to front, the other one to the inside of the bottle. This gave the best result to visualize condensation sitting on top of the glass. You will have to play with the mapping to get the normal map looking right on the bottle.
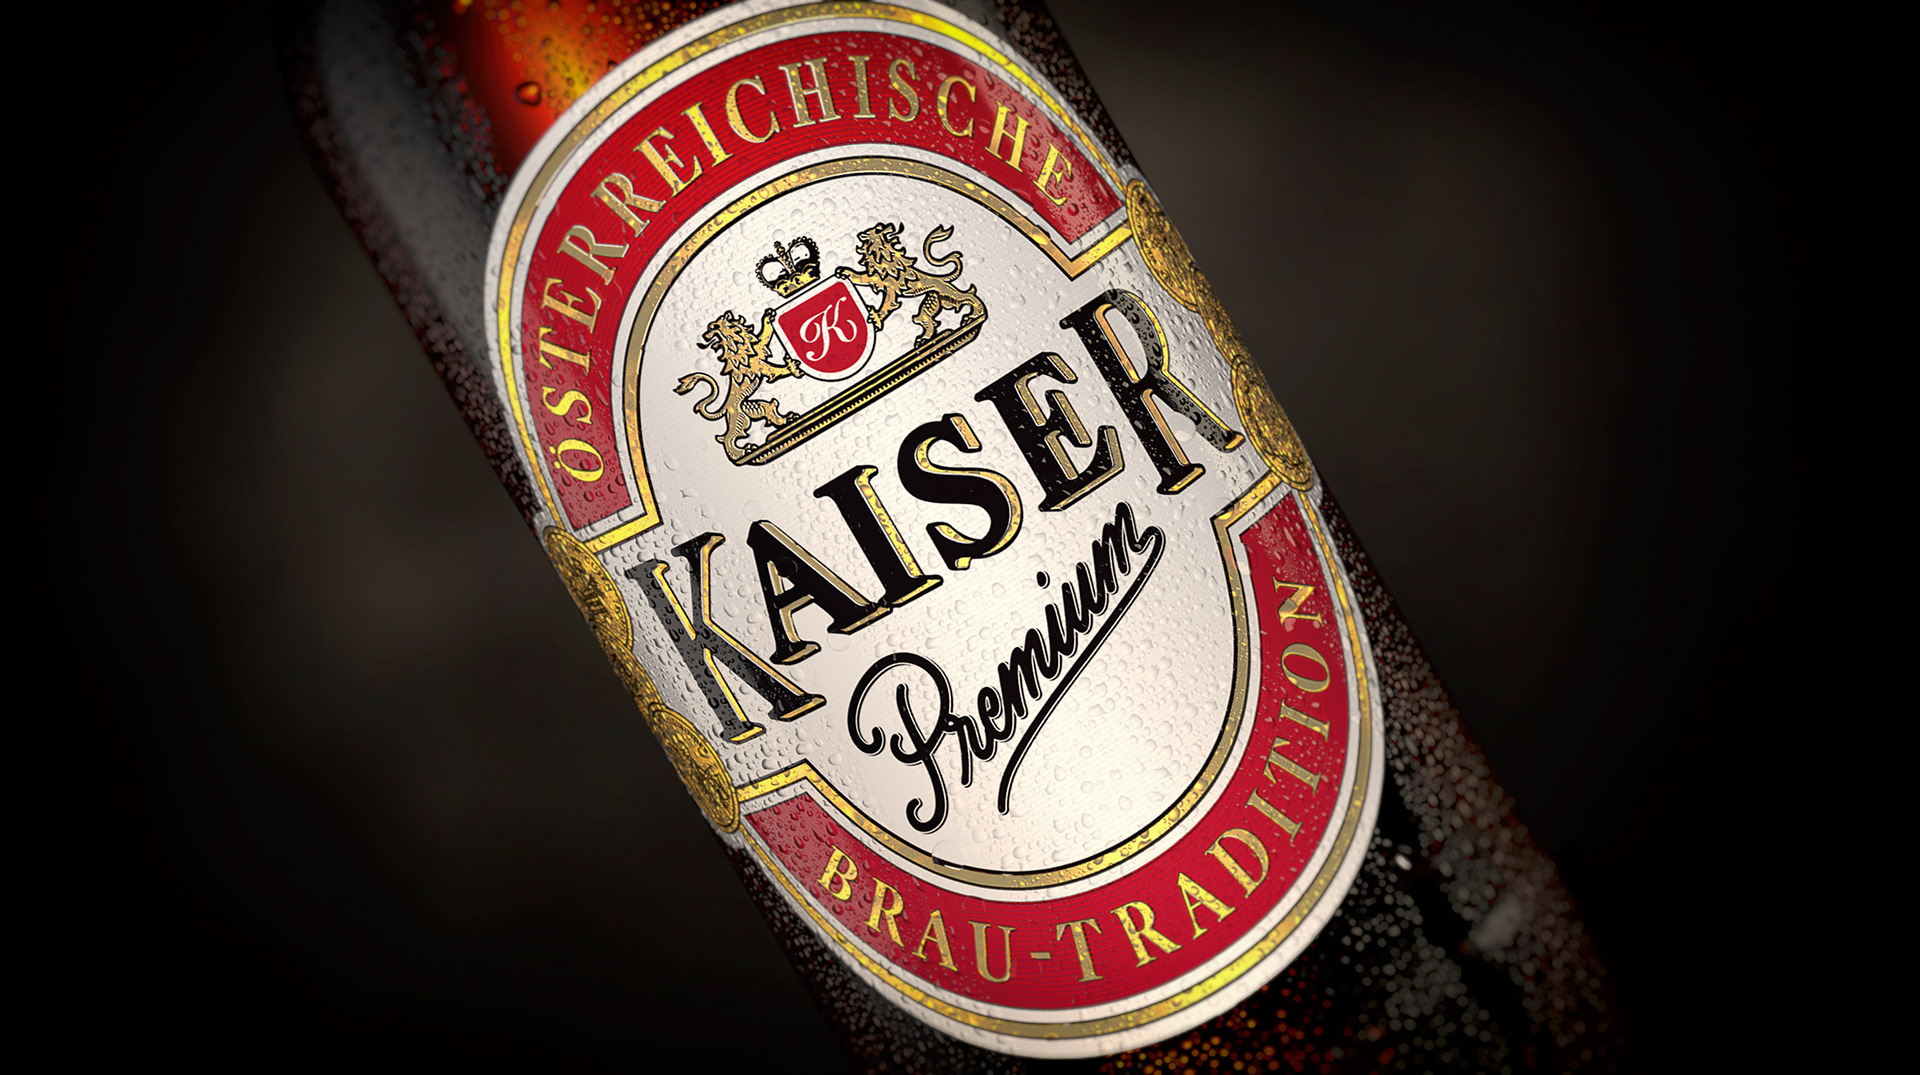
Another challenge was how to add streaks and transition the condensation and streaks seamlessly from the glass to the labels. So in my outer glass material, I created a layer shader in the normal map channel, then I loaded the actual normal image file into a “Projector” inside that layer shader. Once I got the projection looking right, I used a gradient to mask the projector which is how I created the streaks. The Projector was really helpful, because then I could copy and paste the layer shader into the normal channels of the labels and everything aligned seamlessly. (hint: the "paste tag" button inside the Projector was extremely useful).
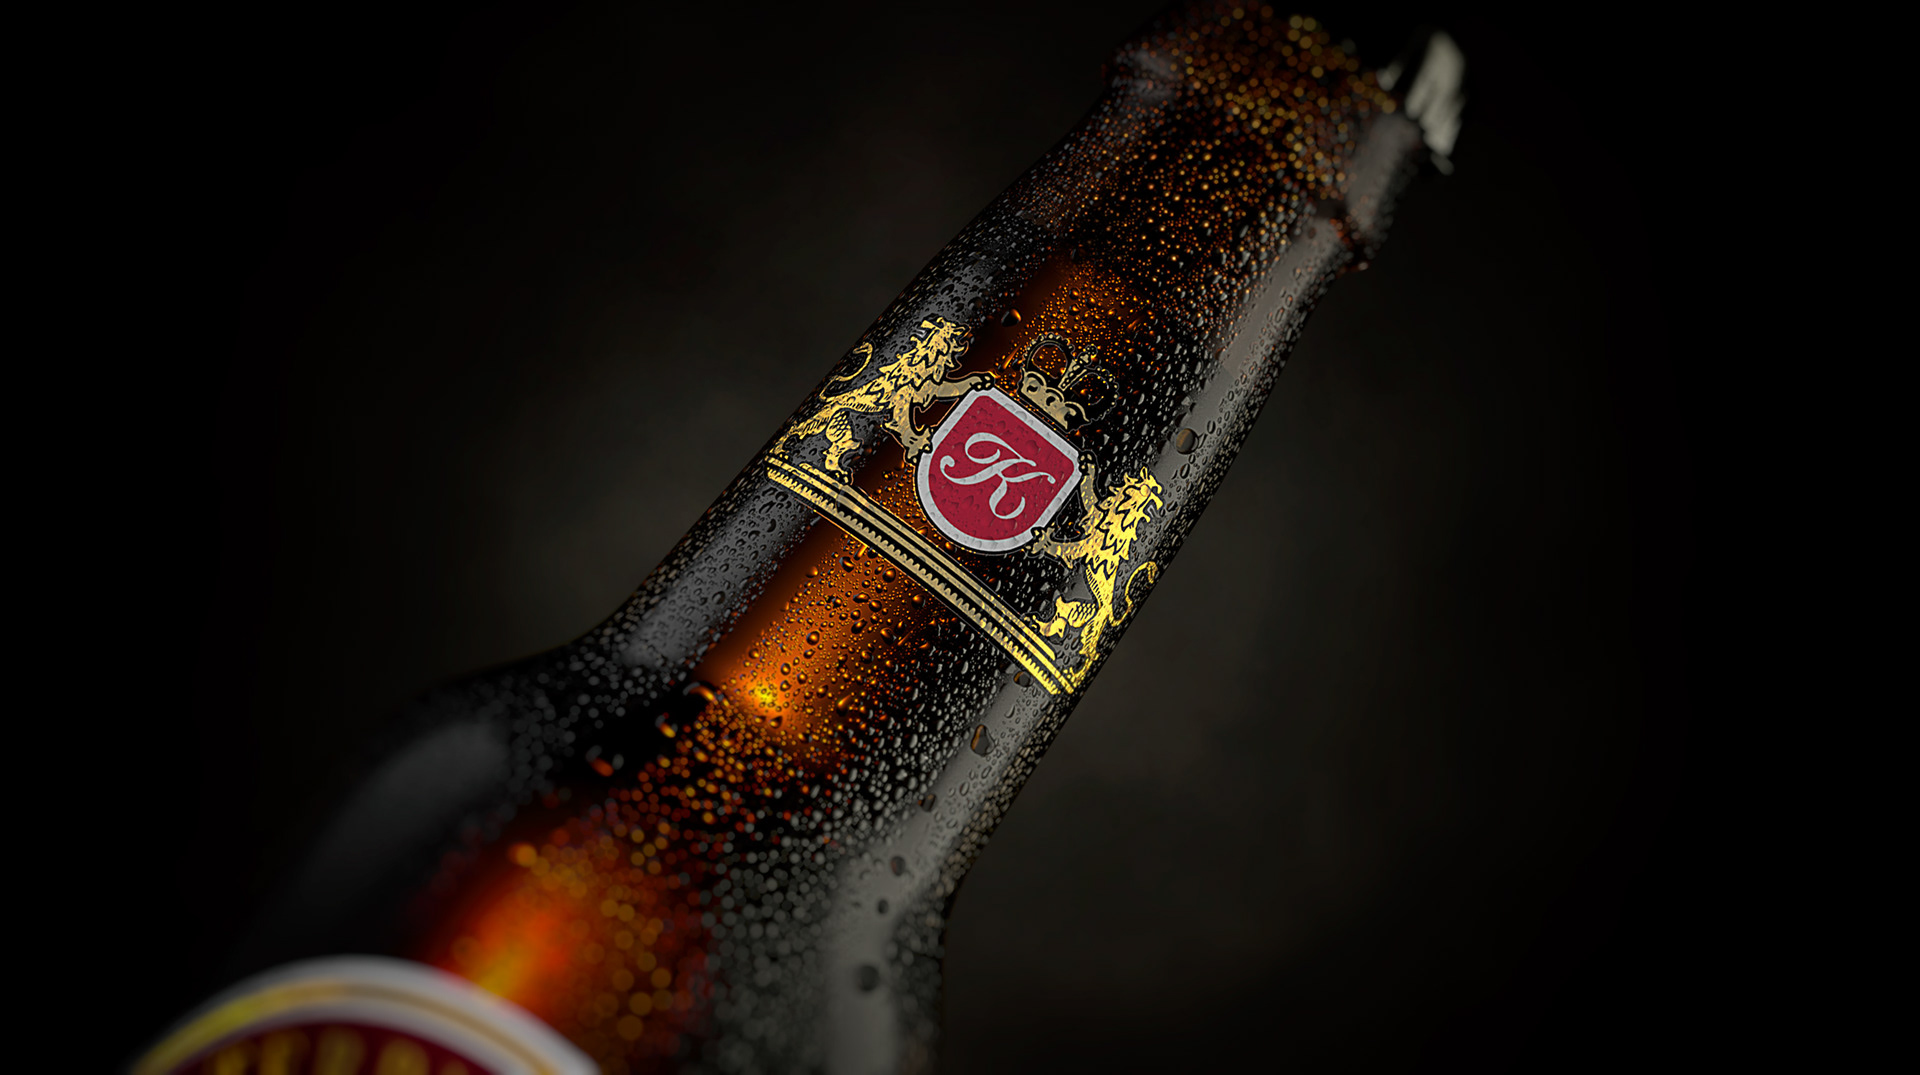
I then created a cloner with the larger drops you see on the streaks. With the Shader Effector, I restricted the clones to the same gradient I used to mask the projector. So it looks like the big drops knocked out the little drops as they traveled down the bottle.

Layer setup in the Normal Channel of the outer glass material. Note that projectors are used for both the Normal Image (set to cubic, 10% scale) and the Streaks (set to UVW 100% scale). This allowed me to repeat the condensation pattern without repeating the streaks. The reason I put the streaks into a projector is so that they would transition seamlessly when I applied the same Layer setup to the label materials (which had different UVW cords than the glass material).
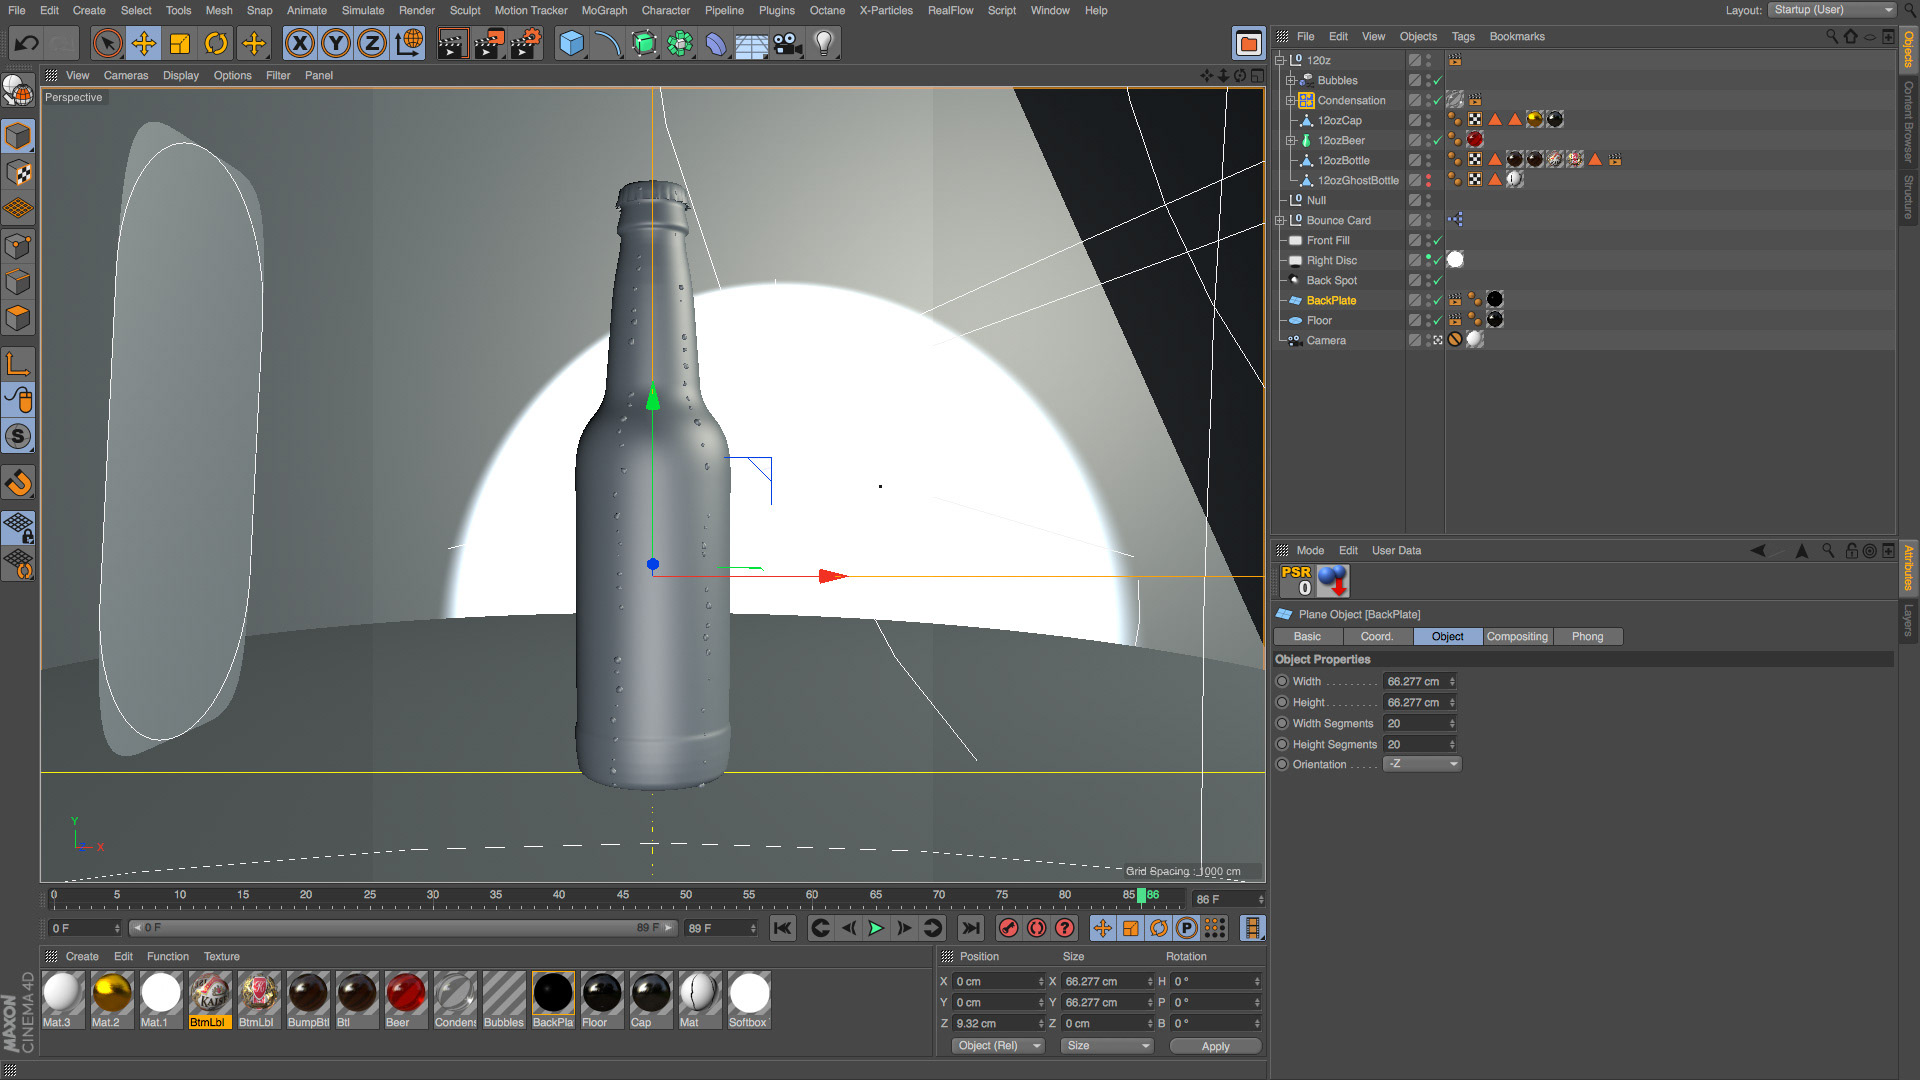
There are a lot of different ways to light the bottle from behind. What worked best for me was to setup a plane behind the bottle, but instead of applying a luminance gradient to it, I gave it a regular material with a lot of specular. I aimed a spot light at it and used the diffused light from that to light the bottle from behind. I found this gave it a lot more depth and realism